This class covers such topic as transferring vectors to 3d scene. You`ll get to know what data can be easily migrated from Adobe Illustrator file, what plugin can help you with this task (if you use Cinema 4D R25, no plugins are required). How to create plastic-looking shader and set up lighting.
This plugin will create a tidy and easy-to-use Redshift material for Shadergraph with a PBR structure in just 1 click.
Depending on how many texture maps you need to use, the creation of a friendly node system with everything plugged and working nicely can be tiring and time consuming. And this problem is even worse when you need to create lots of different materials based on several PBR textures to be used without UV map. In that case you'll need TriPlanar node for every texture on every material, and probably a Ramp or Color Correct node to control the behavior of each texture, plus a rig to remap all of them.
It is a really time consuming task if you don't have Redshift PBR Material plugin.
With this plugin, all relevant maps will be taken automatically based on some customizable keywords, from a given directory. Then the material will be created in a well organized node system, with Triplanar and a switcher to turn it on or off within the Shadergraph.
")
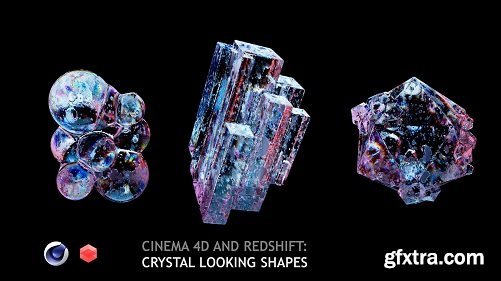
In this class, we`ll use Cinema 4D to create from scratch a crystal-looking geometry-shape with refracting material. This would be a procedural workflow. We will use standard tools of cinema 4D but for render you`ll need a Redshift.

https://www.skillshare.com/classes/Cinema-4D-and-redshift-Complex-plane-and-trail/2082176734
In this class I`ll show you how we can create animated trail element and simple scene with details. I`ve mentioned few free software:
Free plugin for After Effects workflow - FxConsole
Displacement map generator - Jsplacement
Software: Cinema 4D (R19), After Effects (CC 2018) and Redshift Renderer

Are you tired of waiting for your Cinema 4D renders to finish? If your answer is yes, then this course is for you. The amazingly fast GPU rendering in Redshift is going to be a game changer in your workflow.
On this course, you will learn how to use Redshift for Cinema 4D from start to finish. And by the end of the training, you will be able to create an amazing looking, photorealistic render. We will cover subjects such as customising Cinema 4D's interface for maximum productivity; working with Redshift lights; using HDRI images for lighting; working with cameras; depth of field and the highly sought-after Bokeh effect; materials and the Redshift Shader Graph; motion blur; scene optimisation; denoising and finally rendering a scene.
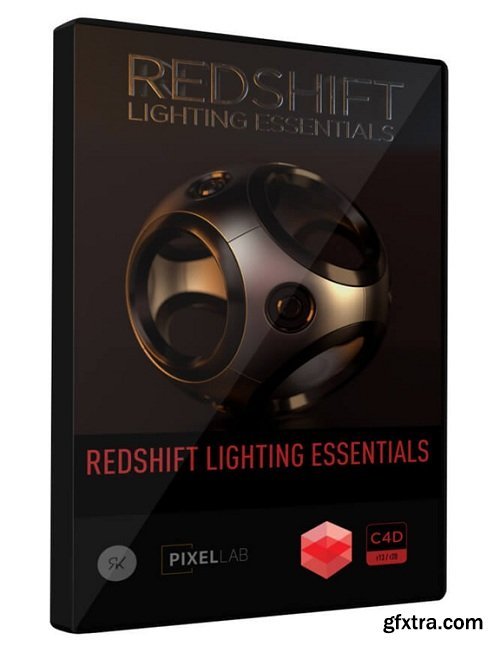
Jump start your lighting with 16 completely customizable lighting studios. Each one has a full xpresso rig so you can easily modify the lights and colors. The download is a .lib4d so you can easily access these lighting setups through your content browser.

Cinema 4D and Redshift: Additional fold details on clothhttps://www.skillshare.com/classes/Cinema-4D-and-Redshift-Additional-fold-details-on-cloth/971588379
In this class, we`ll use Cinema 4D to create from scratch a cloth simulation and add extra realistic detail to it with an interesting methods. We will use standard tools of cinema 4D but for render you`ll need a Redshift renderer.
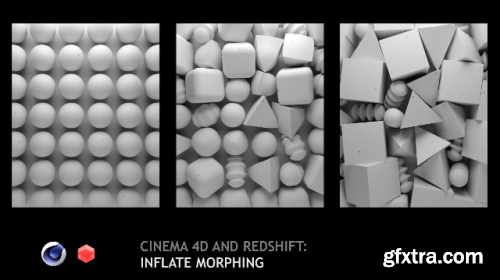
https://www.skillshare.com/classes/Cinema-4D-R20-and-Redshift-Inflate-Morphing/1845522322?via=search-layout-grid
In this class we`ll use Cinema 4D (R20) basic dynamic tools and mograph clonner for creating inflate morphing effect. Final render will be done with help of Redshift.
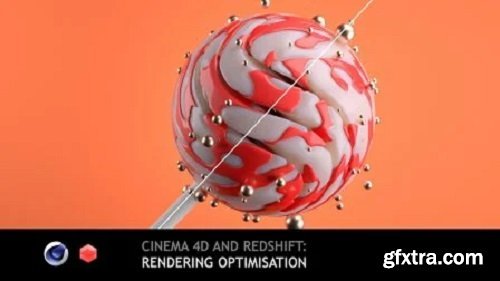
https://www.skillshare.com/classes/Cinema-4D-Redshift-Optimisation/1624518845
In this class I`ll show you how we can reduce render time in Redshift by tweaking settings. We will study the benefits of Sampling overrides settings, activate RTX acceleration and I will show you the algorythm of how we should analyze scene before tweaking sample values.
SermonBox - Seasonal Collection

SermonBox - The Series Pack Collection

Top Rated News


Would you like to be a Author?